Smart Preset Setup is a very powerful tool used to quickly setup multiple materials in one click. when execute, this tool will check each material of all selected objects, and apply a principled preset when some parameters are detected.
In this example, these materials was configured just using it material names as parameter. Each material has a different name, “Metal”, “Plastic” and “Glass”.
When running the Smart Material Setup, it detects these keywords (Metal, Glass and Plastic) in each material name, and apply the respective principled preset to it.
How to use it?
The Smart Material Setup system can become very complex, that’s why we are going to start with the basic usage, setting up materials just using material names as parameter.
The first thing to know when using it, is that Smart Preset System uses all principled presets that you already have in your add-on (including principled presets that you have created).
In this basic example, we will be using the principled preset called “Metal” that is already build in Principled Tools add-on.
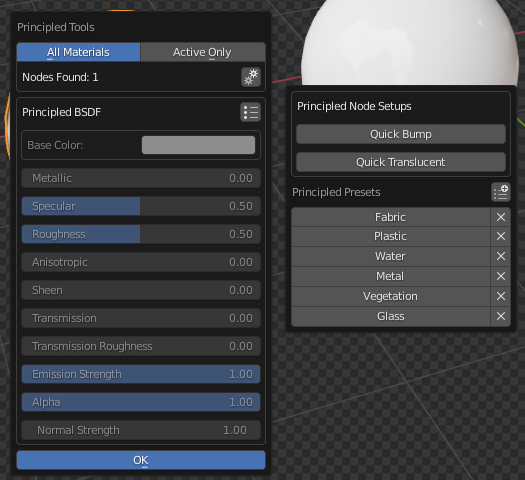
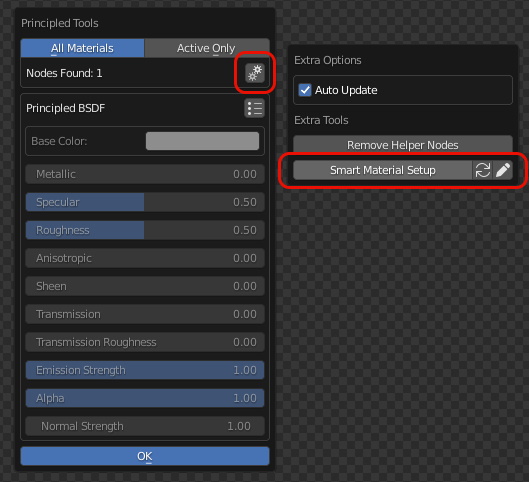
To access the Smart Preset Setup menu, just go into “Extra Settings” in principled tools menu
Setting up Smart Material Setup
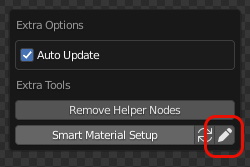
Before running the Smart Material Setup, we have to configure it, to do it, just click in the edit button.
This pop-up will appear
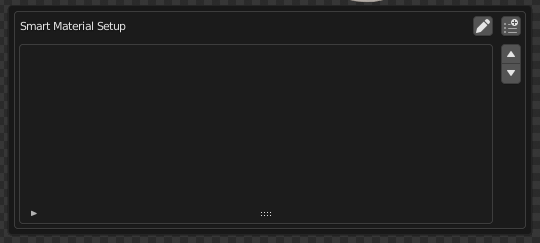
Here you will be able to add your material setups, this material setups are all setups that will be executed when running the Smart Material Setup. in this case we want to create a material setup the will detect name keywords.
in this example, we will add a material setup called “Metal”. Note that this material setup name could be anything, like “Metal Setup 002” for example.
To add this new material setup, just click in the “Add Setup” button.

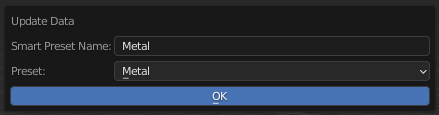
A new pop-up will appear.
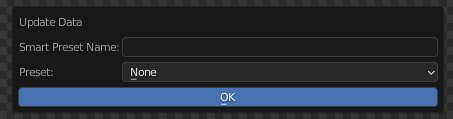
Here you have to put the name of the new material setup, and select the principled preset that will run with it. in this case, we will select the “Metal” principled preset, that is already build in principled tools add-on.
After creating this material setup, go back to the Smart Material Setup menu, and here is our first metal material setup.
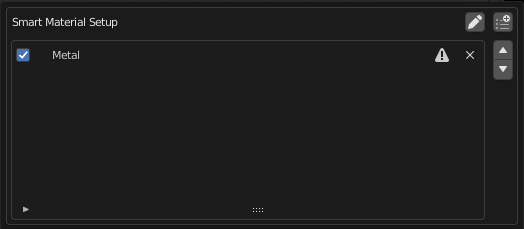
Now we have this metal setup, but it does not have any parameter to execute, in this case, we want this material setup to check if any material has some specific keywords in it name, if positive, the selected principled setup will be applied to this material.
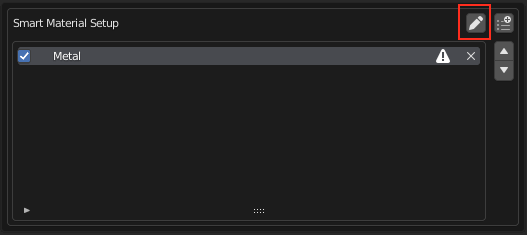
So lets add this parameter. Just click in the material setup, and in the edit button.
Some extra settings will show up in this same menu. in this extra settings you will be able to change some properties of the selected material setup, such as setup name, selected principled preset and more settings that we will be explaining after the explanation of basic usage of this tool.
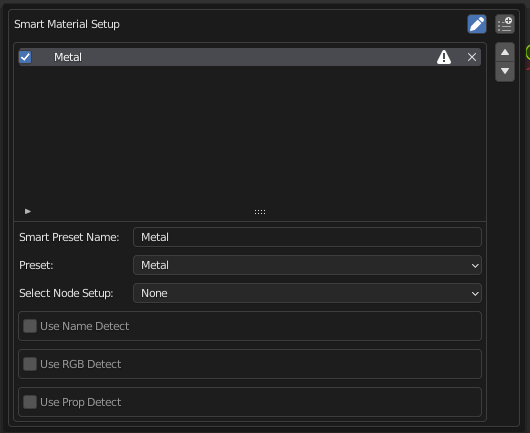
In this exemple, we will be adding a “Name Detect” parameter. to add it, just click in the “Use Name Detect” checkbox.

For now, we will skip the parameter operation, keeping it as “And”, it will be explained after basic usage of the Smart Material Setup explanation.
The name string is where we will add all keywords we want to detect so the smart material setup can apply some principled preset in some material.
In this example, we want that any material that has “Metal” or “Metallic” in the name, be detected by this material setup and apply the “Metal” principled preset to it.
To add this to the Name String, all we have to do is to write all keywords separated by “,”

Remember that in this name string, you can add as many keywords as you want, you just have to separate with commas.
Note: These keywords aren’t case-sensitive, meaning that “Metal” and “metal” will be the same thing.
Now it’s done, our material setup “Metal” will be executed every time we run the Smart Material Setup.
In this example we have 3 different objects with 3 different materials. all these 3 materials has “Metal” in it name.
Here is the result when running the Smart Material Setup
All three materials had the Metal Principled Preset applied to it.
And that’s all for the basic usage of this powerful tool. you can start creating your own material setups, to be running when Smart Material Setup is executed.
In the next section, you will be learning the advanced usage of this tool.