1 – Creating the first preset
To create your first preset, just click on the “Add Preset” Button with the default settings, and all objects visible in your viewport will be in this preset.
to activate it all you have to do is click on the “Activate Preset” Button.
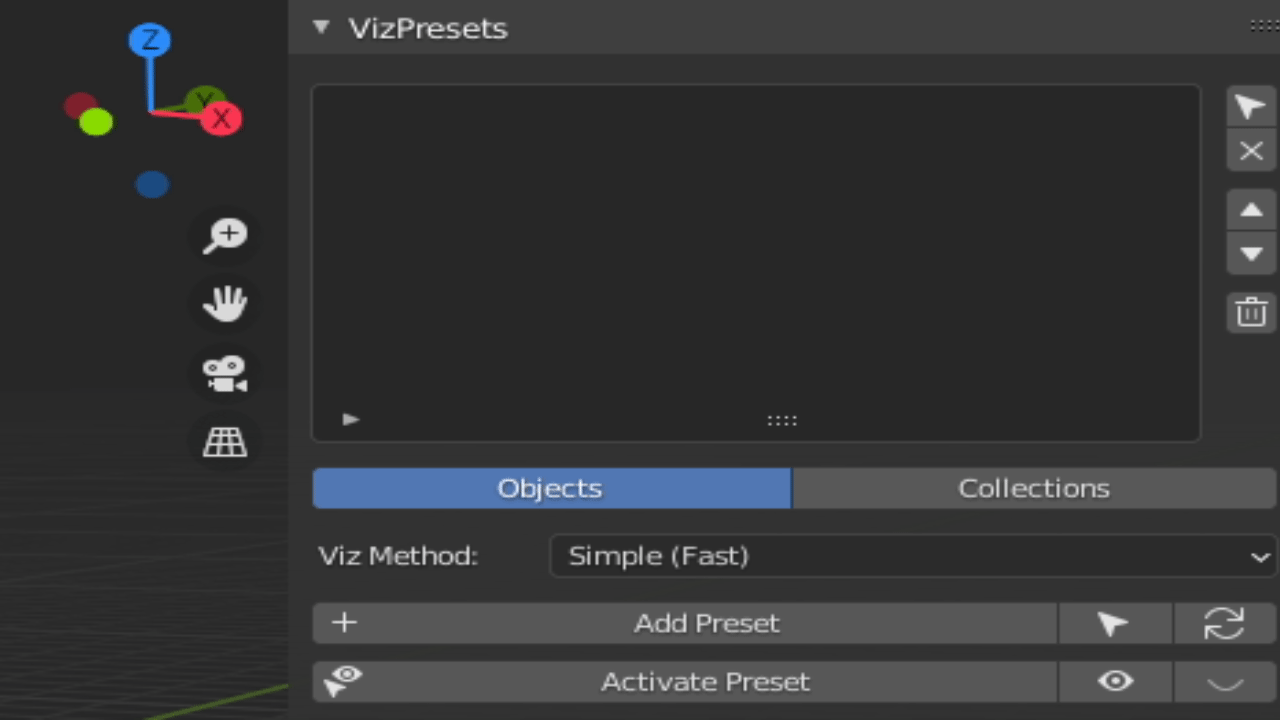
This is one of the methods to create presets in VizPresets!
2 – Creating a preset with selected objects
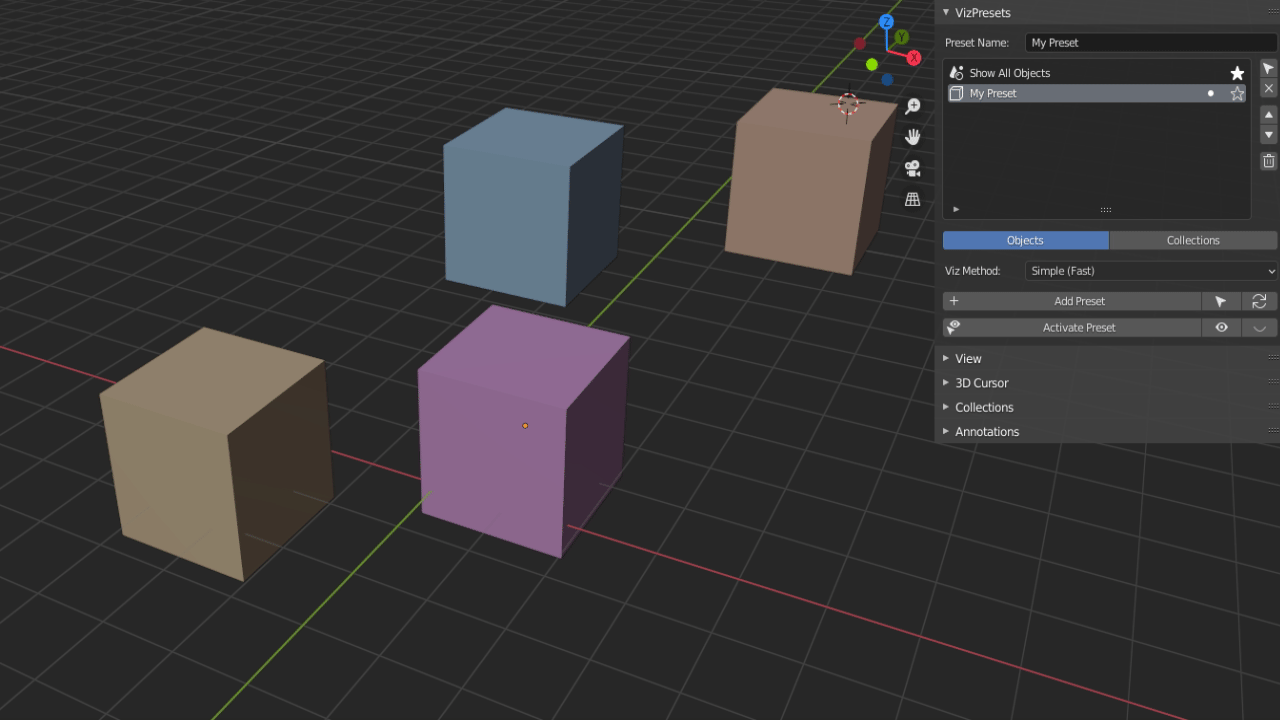
To create a preset with selected objects all you have to do is to select the objects you want in this preset, and press the “Selection preset” button, and the addon will create a new preset with all selected objects in the viewport.
NOTE: It’s not the “Add Preset” Button, the correct button to create a preset with selected objects is the button with the “Arrow” icons, on the right side of the “Add Preset” Button.
3 – Updating presets
To update any preset with more objects, all you have to do is to click on the “Update Preset” button, select an “update method”, select the “objects to add” method, and click in “Ok”, and it’s done!
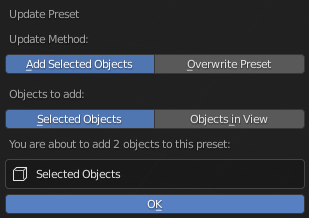
Update Method:
“Add Selected Objects” – This update method will add more objects to the selected preset
“Overwrite Preset” – This update method will overwrite the presets with a new one based on the selected settings before (you will understand this setting later).
Objects to add:
“Selected Objects” – This option will add only selected objects to the selected preset
“Objects in view” – This option will add all objects in your view to the selected preset